Over the last few years, epoxy resin has become popular among artists and artisans. Coating and casting various things in resin offers a versatile way to create jewelry, display pieces, sculptures, valuable items, and even furniture.
You can make nearly anything with some resin and the right tools. But figuring out the bare essentials can be confusing, especially when you see experienced individuals using fancy equipment online.
Fortunately, you don’t need that much to make your first piece of resin art. You can get started with a few relatively easy-to-obtain supplies. Read on for a list of everything you need to make resin art.
- Epoxy Resin
The epoxy resin is the first thing you’ll need. Epoxy resin is often available in two forms. When mixed in a specific ratio these two liquids harden through a chemical reaction. Resin art is created with resin alone or in combination with other materials.
You should use what’s explicitly marketed as ‘art resin.’ You’ll find these with various qualities like mixing ratios, hardening speeds, and viscosity. Art resins are made to be durable, heat, and UV resistant once they’re cured.
- Resin Pigmentation And Colorants
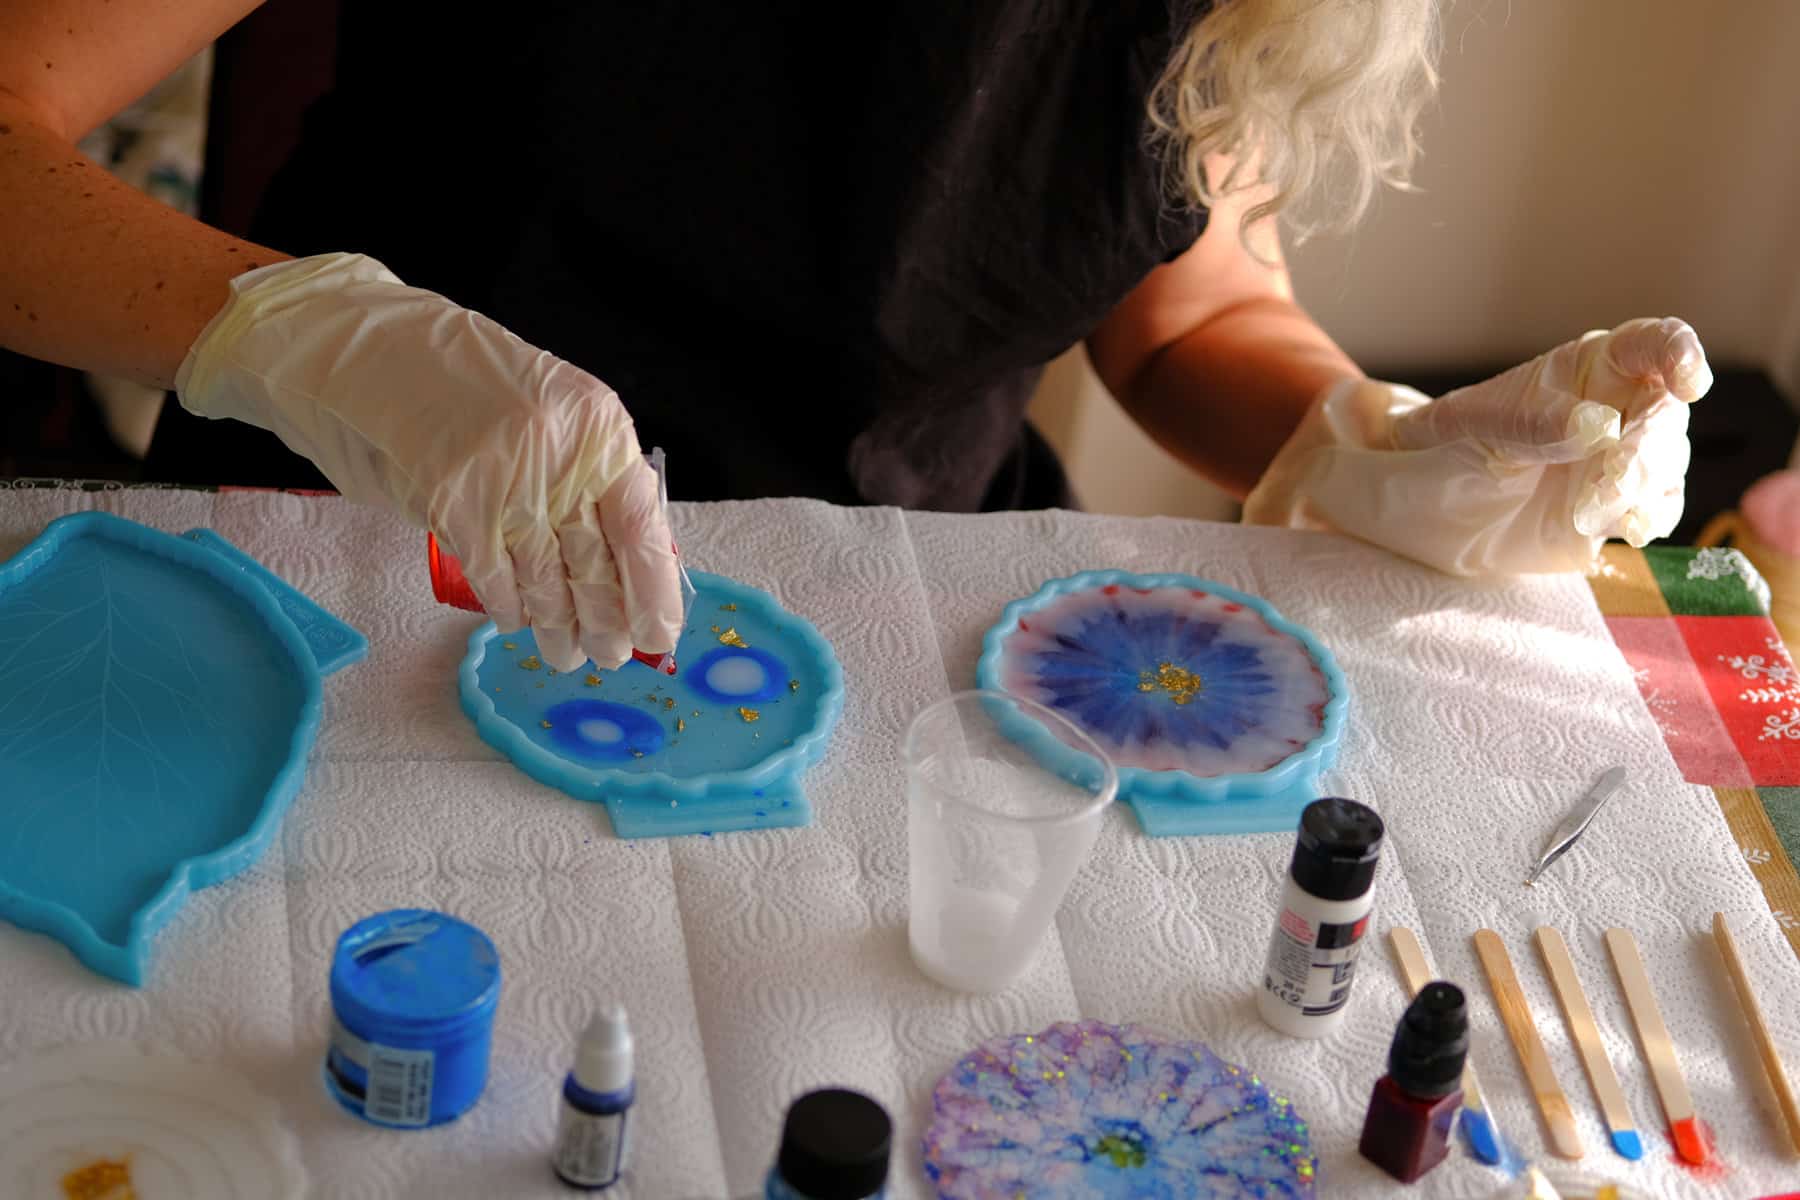
Colors and resin art go together. After all, mixing several shades and manipulating the resin for a specific effect is half the fun.
Ensure that the colors you use are compatible with epoxy resin. Acrylic, oil, and water-based paints or colorants don’t work with resin.
Instead, you’ll need special resin color powders or pigments. You can usually find these at places that sell art resin. You can purchase kits that include resin color pigments, like the kits this site offers. A kit like this is perfect for first-timers because you can be confident all your colors are compatible with your resin.
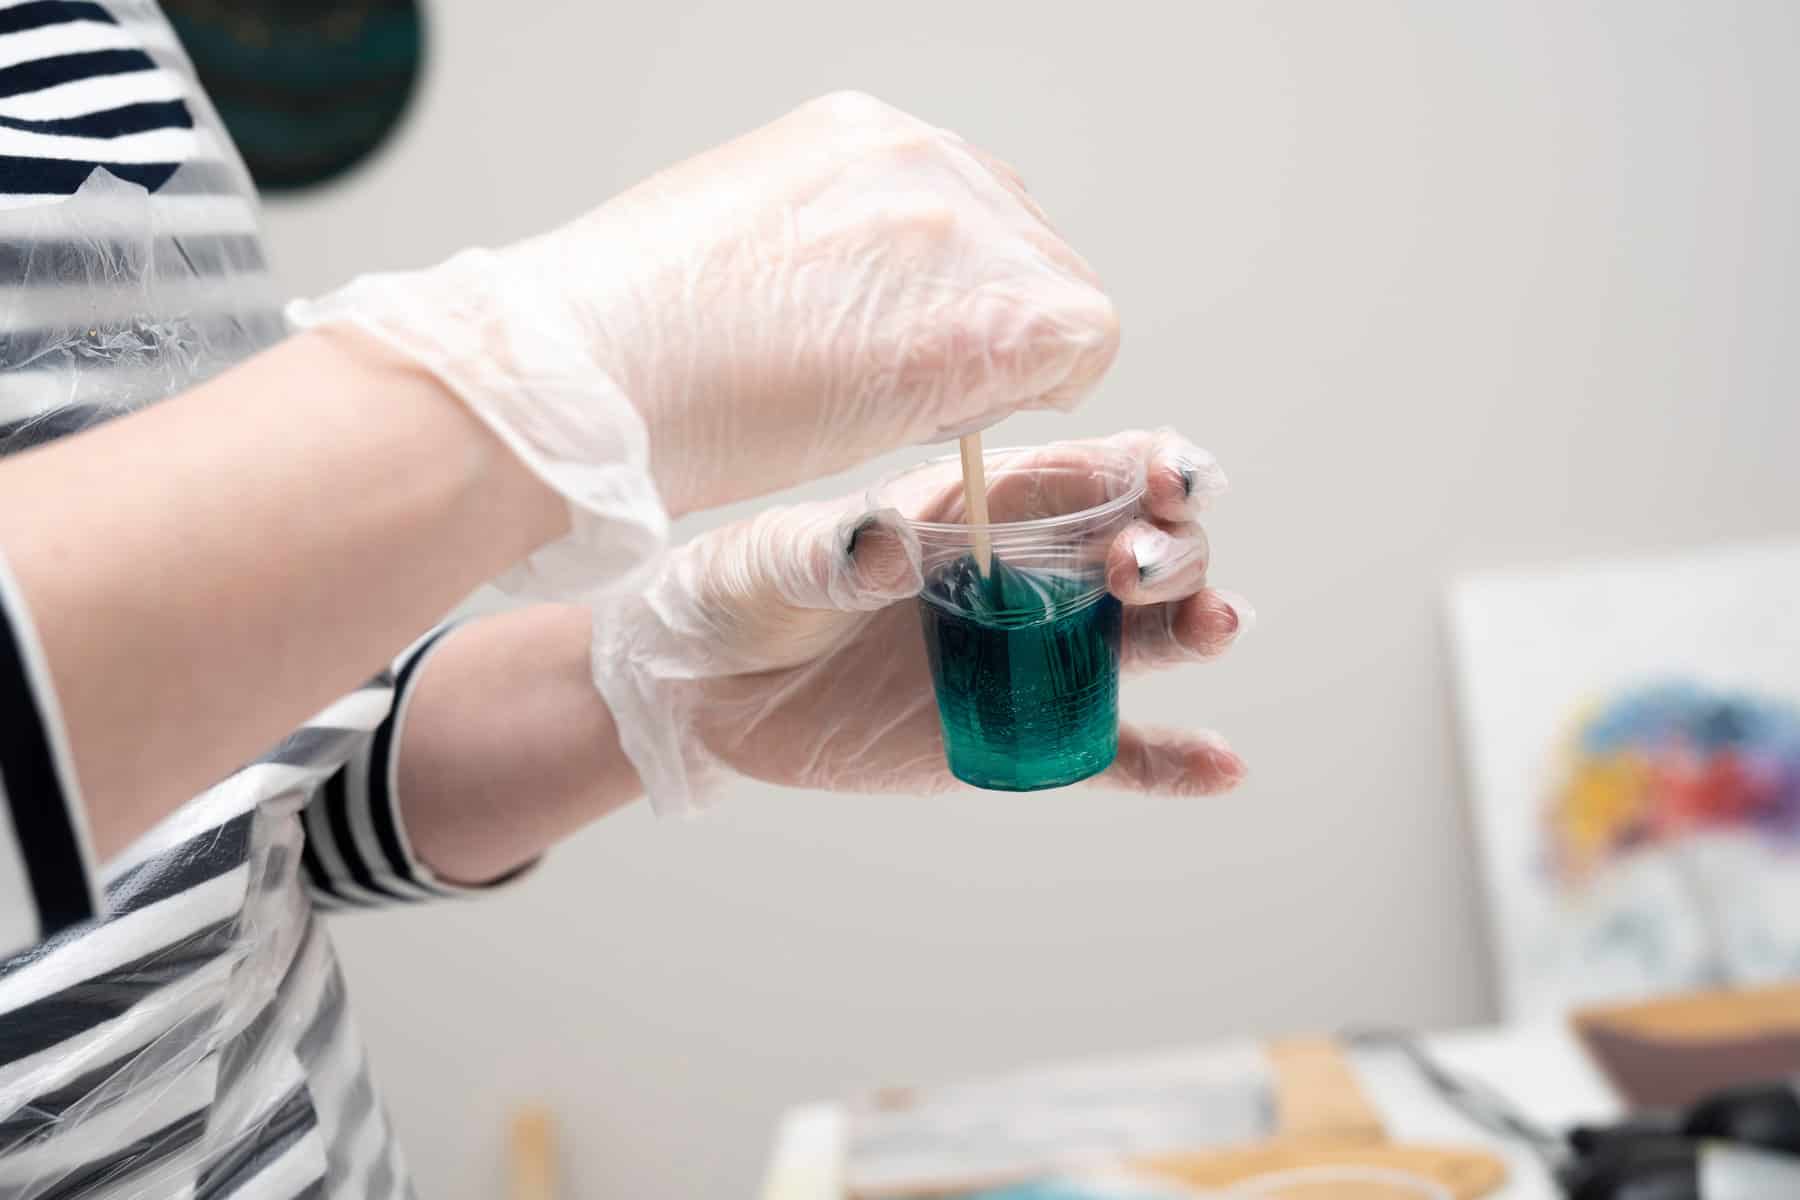
- Mixing And Measuring Containers
To get started, you’ll need at least three containers. One mixing container large enough to accommodate your solution and two measuring containers for each of your two different resin portions.
The containers you get should be plastic and not glass or anything else. As a general rule, plastic tools are the safest when working with resin. Resin doesn’t adhere to plastic as it does to other materials like glass or wood.
- Stirring And Spreading Sticks
It’s important to thoroughly stir your solution to ensure that the two parts are evenly mixed throughout. Additionally, you’ll likely need a tool to help you spread your resin as you pour and guide it into every part of the mold.
Once again, try to get these tools in plastic.
- Gloves
Since it’s liquid in form, the resin can be very sticky and messy. Exposure to bare skin may also cause skin irritation. It’s in your best interest to always wear a pair of disposable gloves whenever you’re working with uncured resin.
Remember that you might go through more than one pair of gloves on a single project. Keep a box of gloves, like latex or nitrile gloves, in arm’s reach while you work.
- Protective Clothing
You don’t need to go all-out and get a hazmat suit. But you probably don’t want your good clothes ruined by stray drops and resin spills.
Wear an apron, old clothes, coveralls, or any other clothes, you wouldn’t mind being damaged or stained.
- Plastic Sheets
It would be best to use plastic sheets to protect your working surface. Things tend to get messy when you’re working with resin. You probably don’t want to have difficulty cleaning up any spills or mishaps.
As you know, plastic is a resin artist’s best friend. Protect your working surfaces and other nearby spaces by lining them with plastic sheets. You’ll probably need many of these, so ensure you have enough.
- Masking Tape
Slippy surfaces, leaky molds, and resin drips can become quite annoying as you work. Fortunately, these are the types of problems that you can usually fix with a few strips of tape. Masking tape is so versatile and essential when working with resin.
The more artwork you make, the more masking tape you’ll need. Whether it’s taping down your plastic sheets, stopping your molds from slipping around, or catching dripping resin at the base of a mold, you should never have to run out of masking tape.
- Molds
Your liquid solution won’t take shape unless it has something to form its shape. Resin casting involves leaving liquid resin to set in a mold until the solution hardens. Molds are something you’ll likely encounter in abundance as you explore resin art.
They can be bought or made with silicone. It is entirely up to your particular preference.
- Butane Torch
A torch is one of the most effective tools for removing air bubbles from a resin project. As you whisk and pour, bubbles will almost certainly form in your mixture. Once the resin is in its mold, these must be removed before it becomes firm and seals in those air bubbles for good.
That said, you need to be careful when using a torch on resin. You don’t want to linger in one spot for too long. Be cautious and check whether any of your resin or pigmentation is flammable before you take a flame to it.
Conclusion
Anyone can make resin art. Even the most straightforward projects can be fun and inexpensive. All you need are the ten things mentioned in this article listed to get yourself started. There’s no shortage of resin art samples online. A quick search will show you enough to get your inspiration flowing. Just remember to check that your resin and pigments are compatible, and you’ll indeed have a great time playing with resin.